Showing posts with label Cheesemaking. Show all posts

14 March 2012

Maple Sugaring Season

Makeshift cheese dryer...
While I haven't written here in a while, I haven't forgotten you.  In fact, I wrote a letter to my hosts in Europe expressing my thanks and describing my summary of experiences since I had seen them last.  Meanwhile, I have been busy visiting properties, making cheese in the kitchen, meeting with cheesemakers and sleuthing around for milk and a cheeseplant.

A few days ago my mom and I drove all around Massachusetts meeting realtors and seeing farm property possibilities.  We were on a tight schedule with 10 visits planned, a Subway lunch and music for driving.  Our choices?  Enya, Sarah Brightman, and Stevie Ray Vaughan.  We rocked it and made it through the day on schedule.  This week I also went into Boston to meet with a newly formed group of Smith Entrepreneurs.  We met with lawyers to discuss and learn about the different business entities that exist and the tax implications for each.

Currently, I am groaning about having to research the best places to purchase my cultures and moulds for cheesemaking, but since I only have yogurt to acidify the milk and I'm obviously not satisfied, I've promised myself to place the order by the end of this week!!

I'll leave you with a few photos of my recent Maple Sugaring escapade at Habitat Sanctuary in Belmont.  While getting this business up and running is extremely exciting to me, it doesn't exactly make for fabulously colorful writing.  But the following photos might make up for it.


Sap can drip from a tree and fill a bucket in half a day!


01 June 2011

How You Taste Success: Mató

Last time I wrote, I was patiently waiting for my Mató to drain.  After covering up my fresh cheese and sticking it in the fridge, the next day I took it out for the final test: taste.  I brought it to the cheesemake to savor with my colleagues and Toni, head cheesemaker at Bauma, and we all sampled.  The texture in my mouth was smooth, light, milky.  It disintegrated without hesitation between my tongue and the roof of my mouth.  The flavor was gentle without being bland.  However, after every bight, my tongue seemed to dry up.  I suspect it might have simply been that I had drank my morning tea a little too hot and burnt my tongue because neither Toni nor Mercé experienced this.

On the contrary, colleague Mercé appreciated my Mató but admitted she preferred the Bauma Mató because it had more consistency than mine, a more lasting flavor in her mouth.  Meanwhile, Toni had nothing but good things to say.  In fact, he generally doesn't like Mató, but mine, he couldn't stop eating!  He and Rosa told me that my Mató was well made because it was a moist solid you could slice through cleanly, not crumbly, not too wet or dry.  It melted in their mouths and tasted obviously of milk.  And Toni doesn't even like milk!

Immediately Toni told me that the next day I would not come in to work, but instead, I would make Nicanor's recipe again, this time using Toni's milk to see the difference in yield and flavor.  So I did just that.  I can't tell you whether there was a distinct difference in flavor - my palate is not that subtle, yet - but there was definitely a difference in yield.  Nicanor's Murciana goats produce a milk that is very high in fat and other milk solids, thus, more cheese.


If you're interested in knowing ALL the details to make your very own Mató, feel free to visit The Farmer General article, How You Taste Success: Mató published 25 May 2011.  If you do, please tell me how it goes.  Have fun!

22 May 2011

Big Day

Today is Sunday, 22nd of May 2011 and I declare this a special day because I will attempt my very first unsupervised, independent cheesemaking session.  This past week I visited the Formatgeria de Tòrrec in southwestern Catalunya to see how cheesemaker and goat herder, Nicanor, works in this business.  We met at the Sort Cheese Fair last month where he was selling his delicious pasteurized goat's milk in 1 liter glass bottles and his melts-in-your-mouth Mató.  This cheese may be the simplest cheese to make and is one that is eaten fresh, within 10 days of production.  The only ingredients necessary are milk and rennet.

So at the end of my brief stay at Tòrrec, not only did Nicanor and his wife, Montserrat, offer me one of their small Matós, they also gave me a bottle of milk with the suggestion I make my own cheese.  Now, 1 liter of milk will not make much of anything, but hey - we've all got to start somewhere.  So here goes!

1. Preparation

Walk over (still in pajamas) to cheesemake to get thermometer, timer, moulds and rennet.

2. Heating

Pour milk in sauce pan, place milk sauce pan in larger sauce pan filled with water forming a bain marie or double boiler.
Heat water to 37 degrees Celsius...

At this point I stopped heating the water at 34 degrees seeing how quickly the temperature was rising.  And at 37 I added the rennet.  But the temperature kept rising!  Thirty eight... thirty nine... fourty... Oh no!  It wasn't stopping!  I hadn't accounted for the fact that I was working with a small amount of milk, so the temperature fluctuated rapidly.

The rennet was added and couldn't be taken away.  I took the pan out of the water and placed it on an unused burner and the temperature settled at 44 degrees or so.  I decided that I would leave the pot open and check the temperature in a few minutes before putting the lid on and hope that the seven-degree rise in temperature wouldn't affect the coagulation of the milk.

3. Waiting

The temperature is back down to 37 degrees Celsius and I've put the lid on the pot and draped a bunch of hand towels over it to try to retain as much of the heat as possible.  I thought about placing the milk pot in the water pot again to keep the milk at the proper temperature for longer, but then I don't want the temperature to rise again...  Oh!  Why don't I adjust the water temperature and then put the milk back in?  Yes, let me go see about that...


Ok.  It's done, poured some hot water out and some cold water in and I'm at 37 degrees, more or less.  I hope the movement of the milk pan into the water pot didn't disturb the coagulation process too much.  Will feed myself and check some stuff off my to-do list for the next two hours.

~ 30 minutes later ~

Emboldened by my independent cheesemaking, attempted to make tortilla francés (omelette) as they say in Catalunya.  Tried to flip eggs.  Result: fail.  Must eat eggs scrambled off stove top.

~ 90 minutes later ~

Ten minutes before the two hour wait was up, I checked the water's temperature and found it was at 30 derees Celsius.  This was not good.  It should have stayed at 37 degrees during the whole coagulation process so I heated some water separately and poured it boiling into my pot, brought the temperature back up to 37 and covered everything with the towels.  Maybe I should have raised the water temperature higher to get the milk back up more quickly, but hey - I'll try that next time.  Meanwhile the timer rang and I've decided to wait fifteen to twenty minutes longer before putting the knife to the curds.  With a lower temperature, the coagulation will probably take longer.

~ 15 minutes later ~

The milk has coagulated!  Though the curds appear a little flimsy for my taste, so I've decided to heat some more water to get the milk temperature up again.  The curds and whey were a mere 30 degrees Celsius so... here's to waiting a little longer!

~ 15 minutes later ~


4. Cutting

It's time to cut the curds!  The Mató recipe could be categorized as a quick/rennet coagulation with a lactic-style ladling into moulds.  And Nicanor's personal recipe - the one I'm attempting myself - is quite unique.  As he did, I cut the curds with a stainless steel knife in 1-2 inch cubes (though with a vat full of milk, his cubes were about 4 inches wide) so the curds are only sliced east to west and north to south vertically through the mass, not horizontally.  Wait an hour more for the whey to come out through the slices.

~ 1 hour later ~


5. Ladling

Excellent.  The whey surfaced after an hour's wait or so and I was ready to dig in (gently) and place the curds in my moulds.  Scooped everything into one small mould and two and a half faisselle moulds and now the fresh cheeses rest in the sink, draining slowly until tonight when I'll put them on a tray, cover them with saran wrap, and off to the fridge.  In the cold they'll drain ever so much more slowly to be ready for savoring tomorrow!  (I think) I did it!


To Be Continued...

31 March 2011

How to make... Garrotxa

At Formatge Bauma we make a delicious cheese named Garrotxa.  It is a goat's milk rennet coagulation that ages for 6 to 8 weeks and was originally developed here in Cataluña.

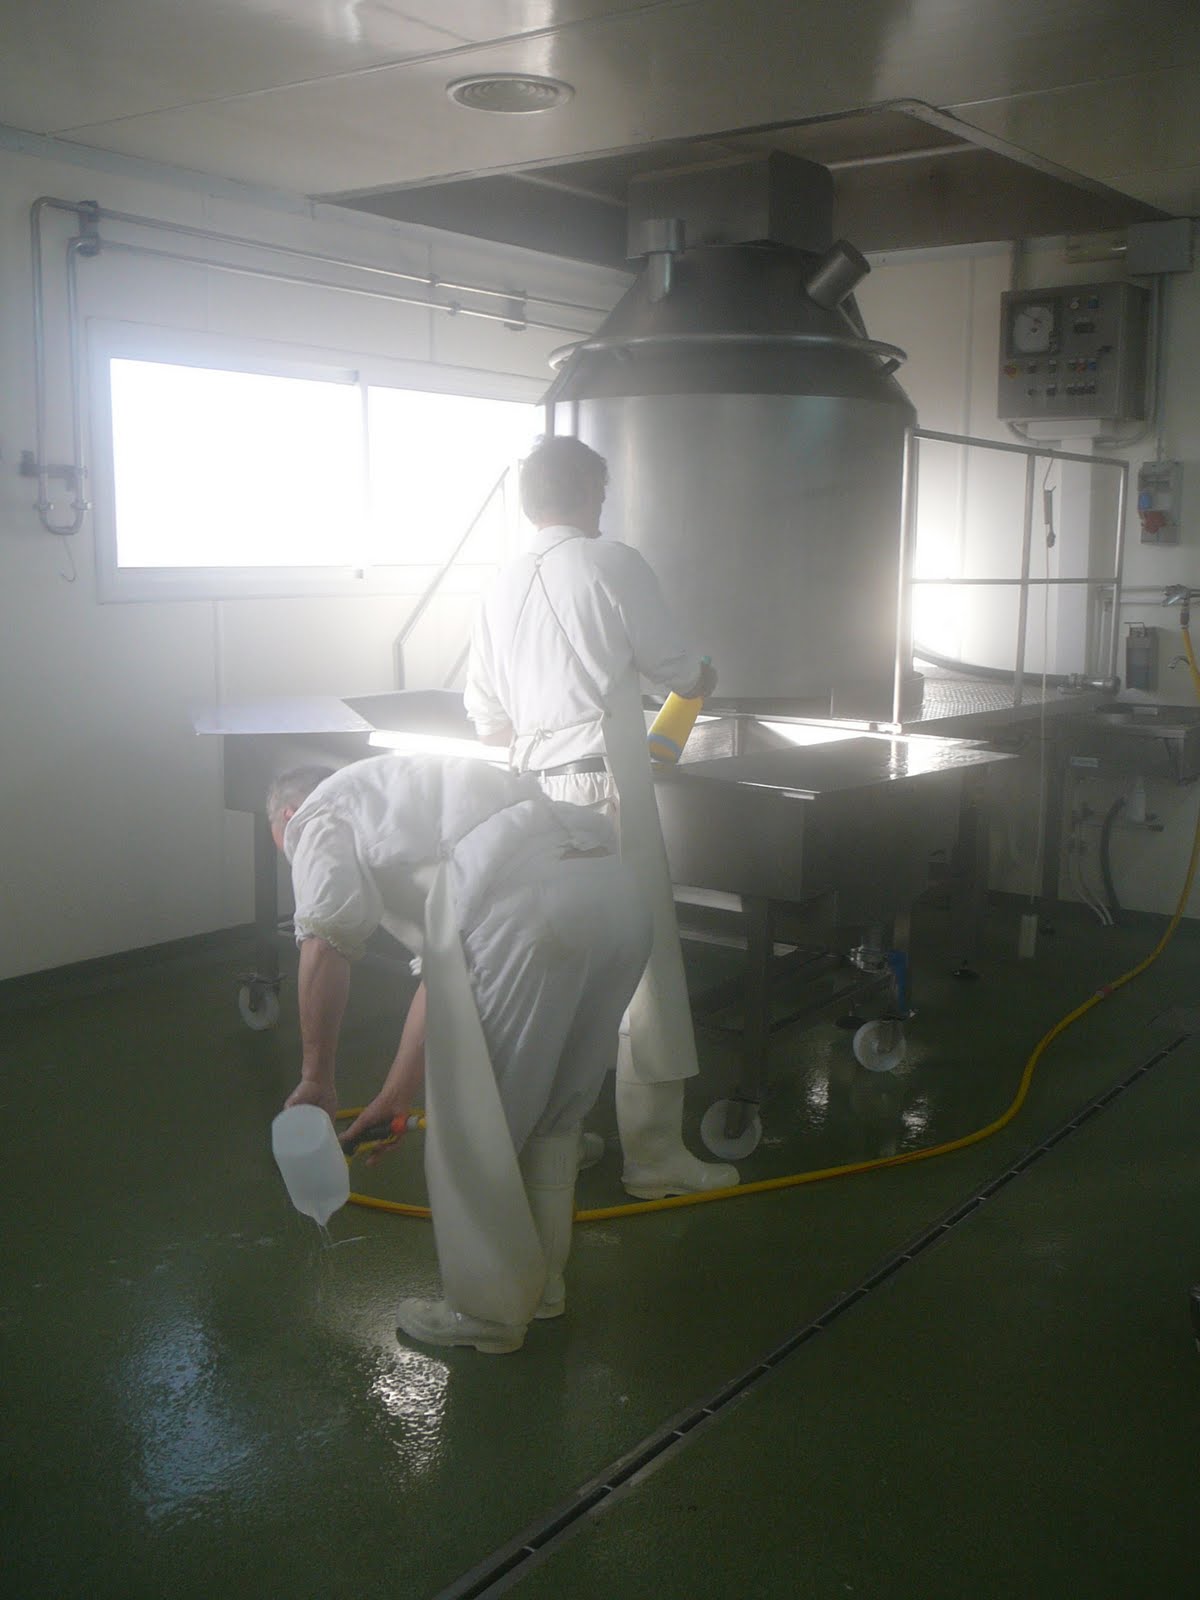
In the morning we pour the milk into the big vat and pasteurize.  Some Garrotxa is made with raw milk but Toni, owner of Formatge Bauma, has chosen to pasteurize.  His philosophy is, 'the client will decide.  If the client thinks our pasteurized cheeses are good, that's all that's important.'  When the milk cools to 39˚C we add the ferments and the calcium chloride (a firming agent that helps the curds take; pasteurization harms the calcium naturally found in milk) and we wait a half hour.

The milk, still at 39˚C, is just in its beginning stage of transformation into cheese and we add the rennet.  This will help the milk coagulate very quickly so that in as little as a half hour the curds and the whey will separate.  This is when we cut the curds.


I'm not sure how long the curds are cut, actually.  I'm either washing something or wrapping cheeses or just staring at the curds.  Liviu, however, has worked at Formatge Bauma for eight years and has shown me how to determine when the curds are ready for draining.  He tells me to dip my hand in, scoop out some curds, look at them and press them between my fingers.  The curds should be about the size of the nail on my pinky finger and they should be slightly firm.  That's when he knows they are ready to be poured into the draining table. 


Next the curds rest and are slightly pressed to release the whey.  And then it's time to bring out the moulds! We slice the curd into square hunks that we hand-press into short round cylinders, larger cylinders, and bowls, depending on customer needs.

Finally, these cheeses are pressed only by their own weight and gravity.


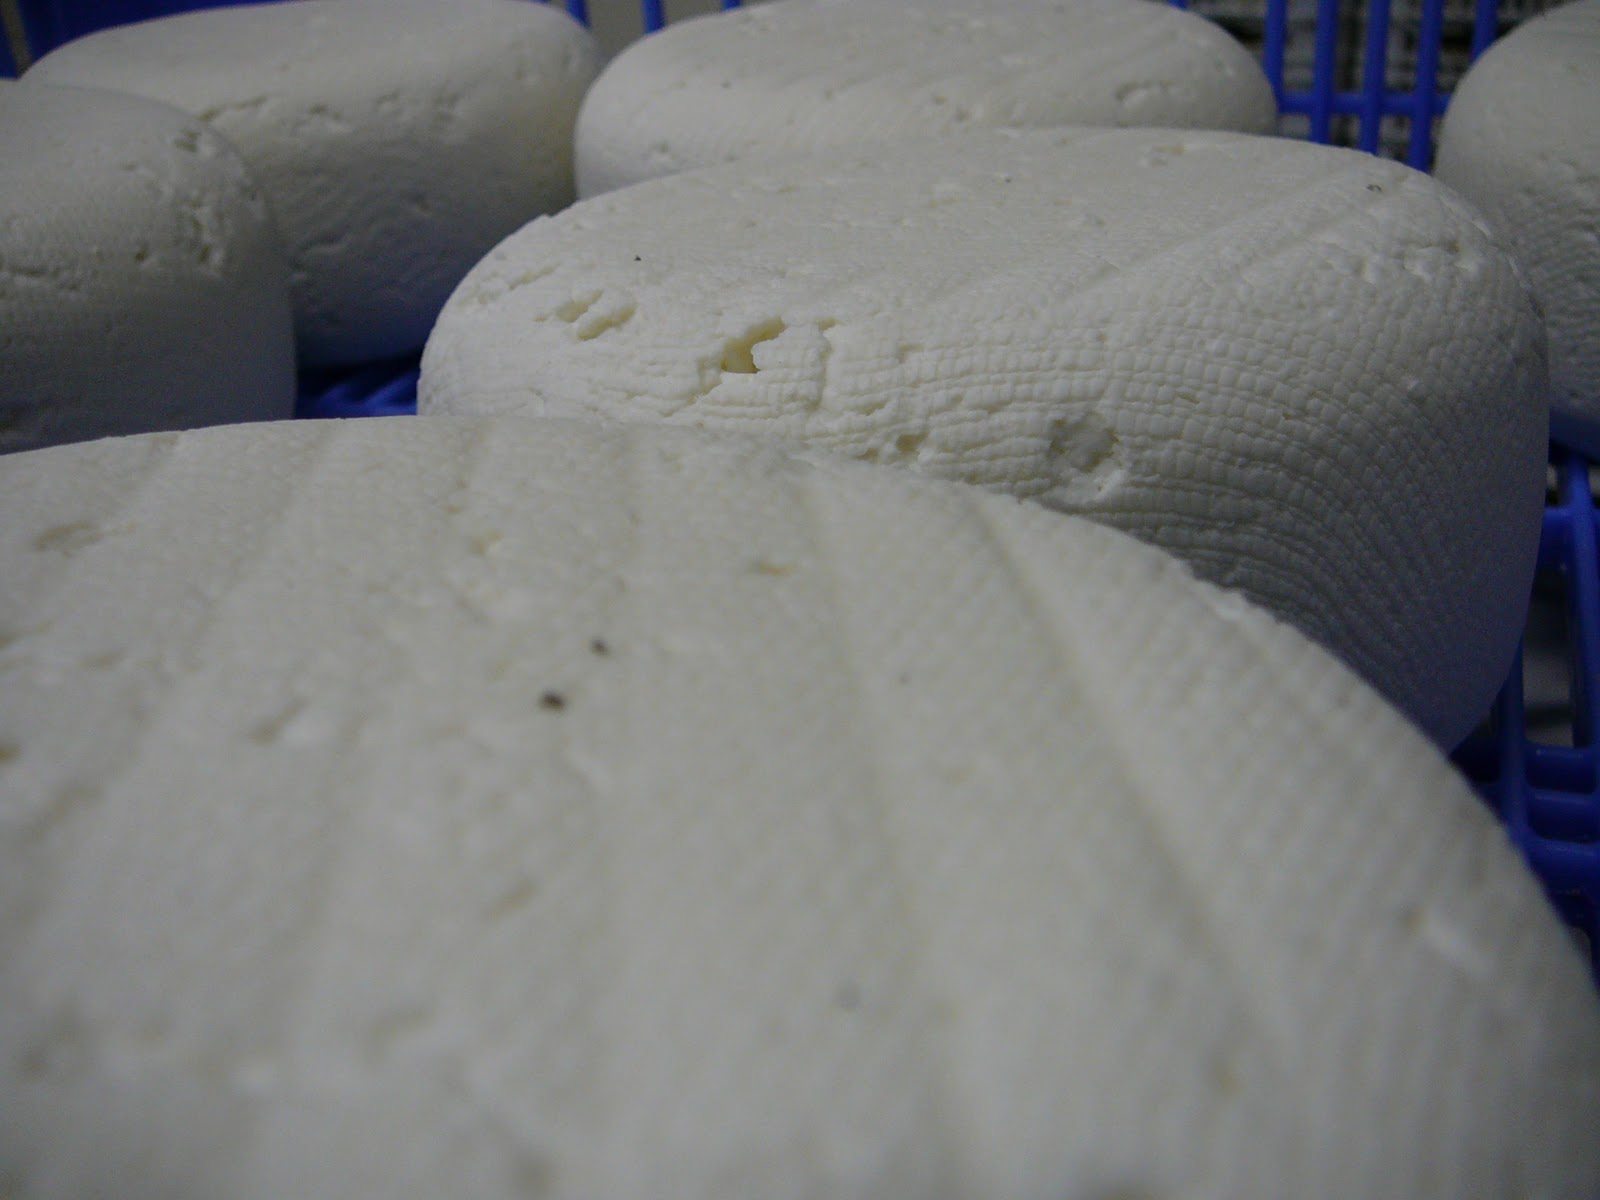
The next morning we come back to find a very young Garrotxa.  We take them out of their moulds to trim the extra bits, flip them, put them back in their moulds, and salt their exposed surfaces.

Here Toni and Merce work while talking in Catalan.  Merce has been at Bauma for two years and no, I still don't understand Catalan.  Ok, maybe some words.

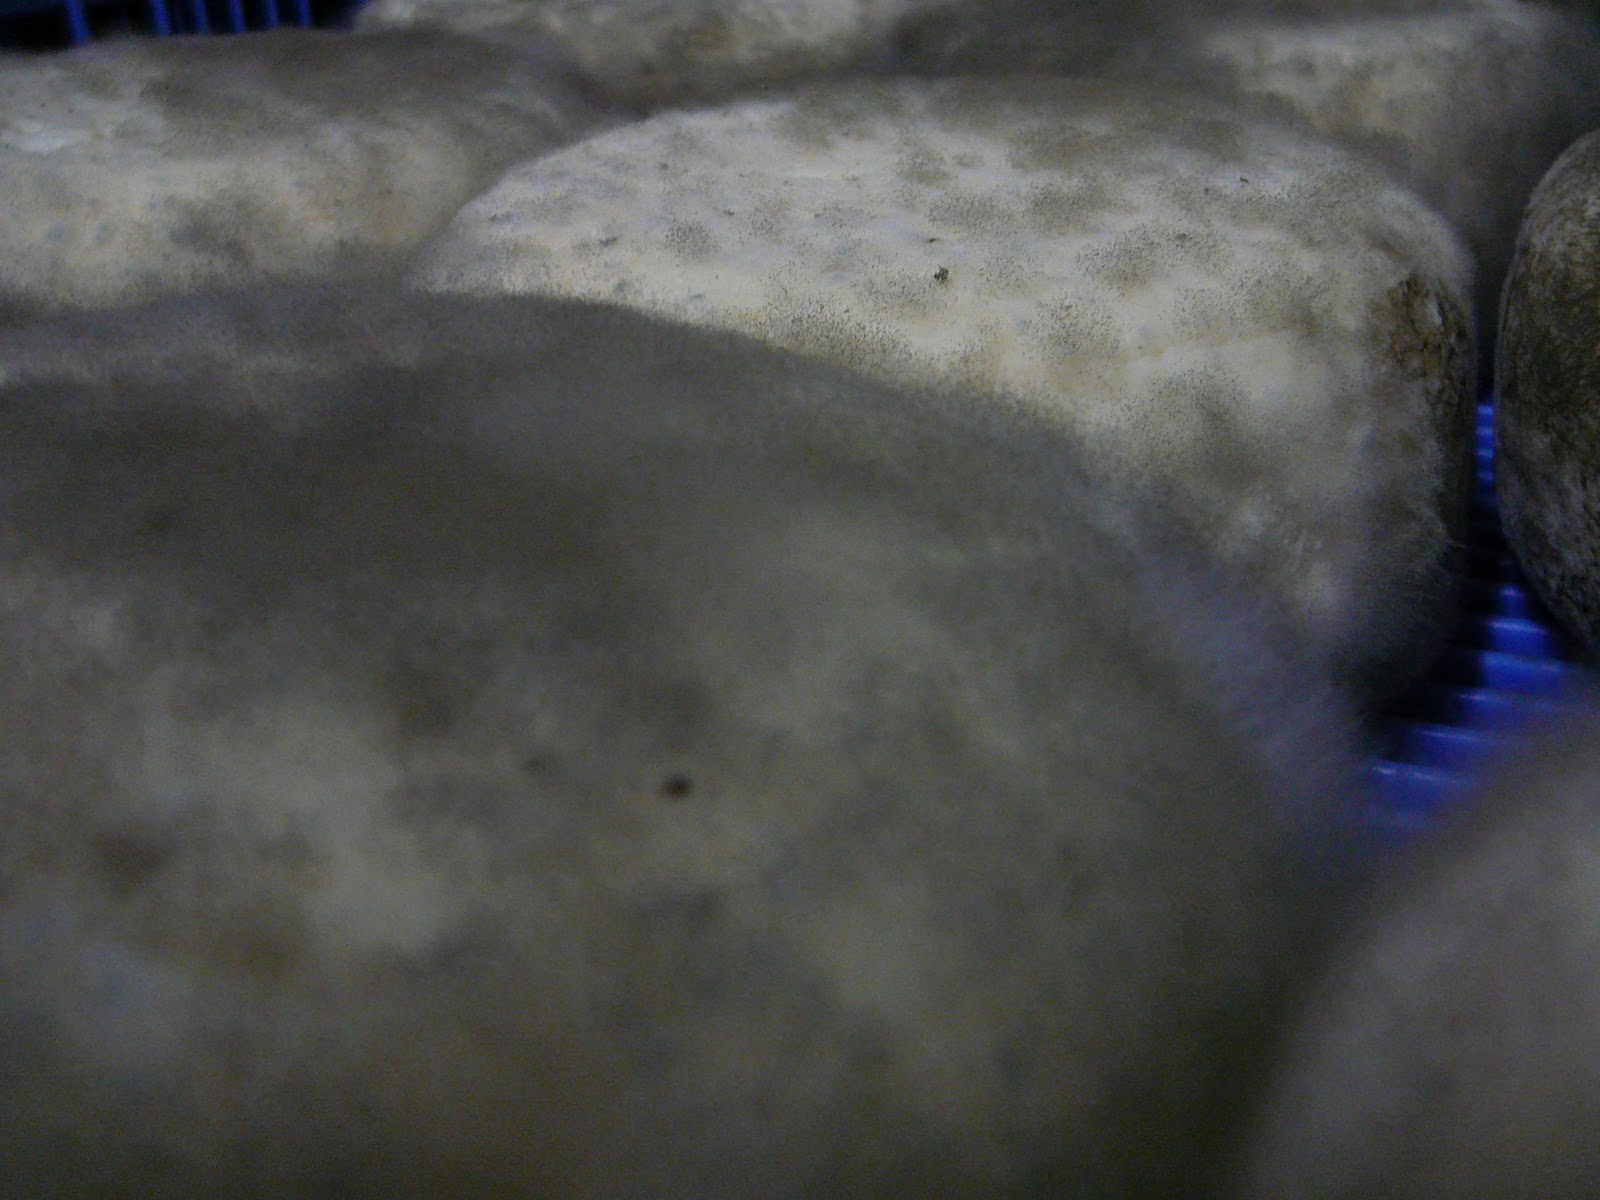
After another 8 hours or so, we remove the cheeses entirely from the moulds, flip them, salt the other side, and put them in the drying room where they stay for about 24 hours.  The moulds go to the wash and the final resting place for these Garrotxa cheeses is in the affinage room where they will grow a luxurious bluish-black rind.  We hand-rub each cheese to limit unruly mold growth and flatten it down to keep the rind thin.  Formatge Bauma Garrotxa feeds cheese-lovers in Spain, England, and even in the United States!


16 September 2010

How to make... Salers

Have you ever wondered how to make AOC Salers Tradition?  Do you know what is AOC Salers Tradition??  Well, neither did I until I came to France.  And two weeks ago I took a trip with my flatmate, Andy, to the region west of ours, Auvergne, home of Salers.  We visited two different producers and, while I have been told that a cheesemaker's technique plays a huge role in cheesemaking, I finally witnessed this first hand.

Jeremy cutting the curds
First, let's talk "AOC."  This label stands for Appellation d'Origine Contrôlée and identifies the authenticity of a product, ensuring its fabrication is historically and geographically accurate.  In this case, Salers was historically made in the Cantal department in the Auvernge region with the use of wooden barrels or gerles.

Because Salers has the AOC label, a cheesemaker can only make Salers in Cantal, in a gerle, and this cheesemaker must follow many other AOC standards - a recipe, of sorts.  Moreover, Salers Tradition means only the Salers breed of cow can be milked for the creation of a Salers Tradition cheese.  So not only must an AOC Salers Tradition cheesemaker follow very stringent requirements, he or she must also work with a very fussy cow.

Salers cows in pasture
The Salers cow is one of two breeds in the world with very maternal instincts: she will not let her milk down unless she is near her calf.  So Salers milkers tie the calves to their mothers and, traditionally, tie their milking stools to their belts to be able to plop down and milk a cow anywhere in the pasture at any time.

Andy and I woke up at 5:00 AM on Saturday (yes, Saturday) to drive into Auvergne to visit cheesemakers Jeremy at Salers de Buron and Madeleine at farm GAEC Pierre Levée.  Upon arrival at Salers de Buron, we met the milkers at their breakfast table.  They had just arrived from the morning's milking and were finishing up their meal.

Jeremy's preferred curd size
Andy and I waited outside, admiring the view of cows and pigs roaming the old, rounded mountains of the Massif Central.  When Jeremy brought us to the cheesemake, we found the gerle already filled with coagulated milk.  It had been inoculated with rennet an hour ago and was ready to be cut.  He - and later we would find Madeleine also - used a ring with wire mesh at the base of a long pole to cut the curds; both cheesemakers dipping into the coagulated milk slowly, vertically, all the way to the bottom, over and over again.  Jeremy cut his curds for quite a long time and then showed us the size of curds he prefers.  Madeleine, on the other hand, cut for much less time. We noticed, as she stirred the curds with her flat board, that some of her curds were actually still very long.

Madeleine's preferred curd size
The cutting and stirring of the curds releases the whey.  In other words, when milk coagulates, the "hard" part of the milk, or the curds, come together, leaving the watery part of the milk, or the whey (or lactoserum).  The whey is rich in protein and is acidic, which is why cheesemakers often feed their whey to their pigs and why Jeremy uses his skimmed whey to clean his gerle.  Removing the whey from the curds is how cheese can taste sweet instead of acidic, and why we have cheeses that are hard, rather than crumbly or a consistency closer to milk. 

Pressing the curds into a tomme
After cutting and stirring, Jeremy and Madeleine scooped out their respective whey, leaving all the cheese curds at the bottom of the gerle.  Doing so gently presses the curds (thanks, gravity!), which releases even more whey.  When the cheesemaker feels he or she has removed enough whey, he or she scoops the curds out of the gerle and into the tomme presse for a first serious pressing.  Jeremy and Madeleine pressed their curds and then cut their curd-block into bricks, piled the bricks up, and pressed the curds again, repeating the process for about an hour and a half.  Even the way they cut and stacked their curds was different.  Madeleine breaking the curds apart with her hands on round one, Jeremy using a big knife right from the get go.  As the curds were pressed, the whey poured and finally trickled out of the bottom of the press, which indicated that the curds were ready to sit and ferment for 24 to 36 hours.

Grinding the tommes
The next day, those tommes of pressed curds (one from the morning's milking, one from the afternoon) are ground up, salted and mixed.  The ground curds-and-salt then sit for another 24 hours before they are gathered together and pressed in their definitive Salers mold.  The cheesemaker wraps the curds in a cheese cloth within the mold that he or she changes every 20 minutes at first and then once a day with each flip of the cheese.  Changing the cloth keeps the cheese clean and helps remove moisture.  The press increases in pressure with every flip and the temperature during the whole cheesemaking process is closely monitored.


Cheese press and gerles
Madeleine told me that if I should remember only one thing about cheesemaking, it's temperature.  I promised her I'd remember by writing "TEMPERATURE" in big capital letters in my notes.  As the milk changes to curds and then to cheese, the temperature gets cooler and cooler - any thermal shock could cause the cheese to sweat (the oils ooze out) in its cave, or the flavor of the cheese could rapidly become bitter.
Jeremy's cave
While Andy and I did not witness Jeremy or Madeleine putting the salted curds into their molds for pressing, we did visit their aging caves and we got a taste of Madeleine's five-month "baby."  I noticed that hers tasted and smelled a bit like bread - yeasty and wholesome with some sweetness and a hint of acid at the end.  The texture was slightly moist and crumbly like a cheddar (both are pressed, non-heated cheeses) and it coated my mouth but didn't overwhelm.  I also tasted what Madeleine called her "bad," older version and liked it even more because even though it was more acidic, all the other flavors were more pronounced as well.  I took home a chunck of the "bad" cheese and Andy got a slice of the five-month Salers.  On our late drive home, Andy's slice never made it out of the car.

A few days old
One year old